Remote Access Setup_Installing AnyConnect Secure Mobility Client manual EN_macOS
Installing Cisco AnyConnect Secure Mobility Client
Step 1
Open a web browser and navigate to the download webpage:
https://cloud.1ci.com/index.php/s/PYMCwZpkdgST7To
Step 2
Download the anyconnect-macos-X.XX.XXXXX-predeploy-k9.dmg file.
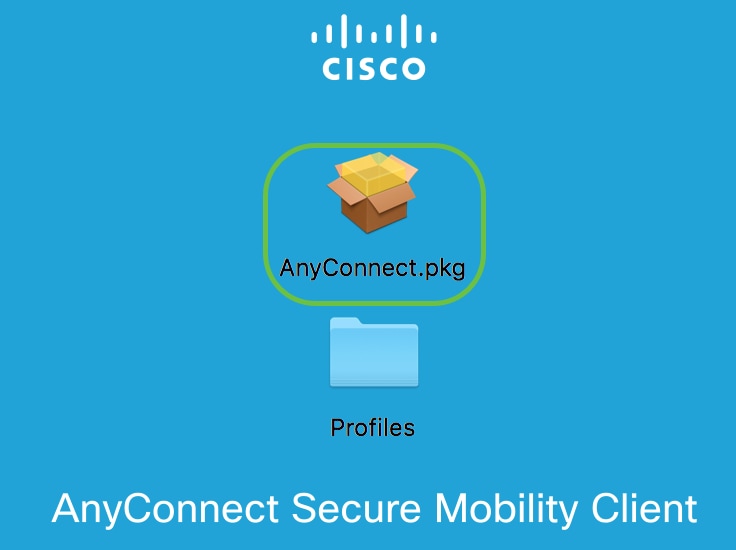
Step 3
Double-click the installer.

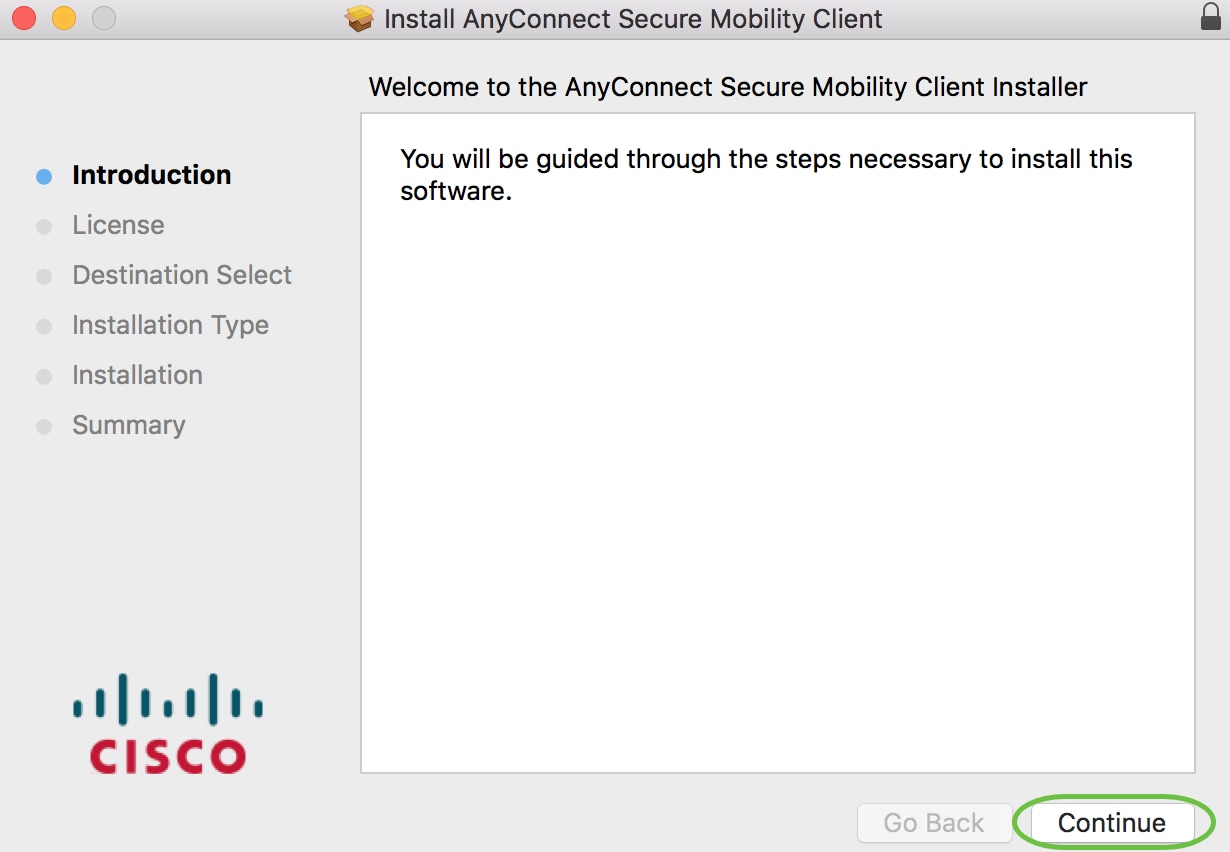
Step 4
Click Continue.
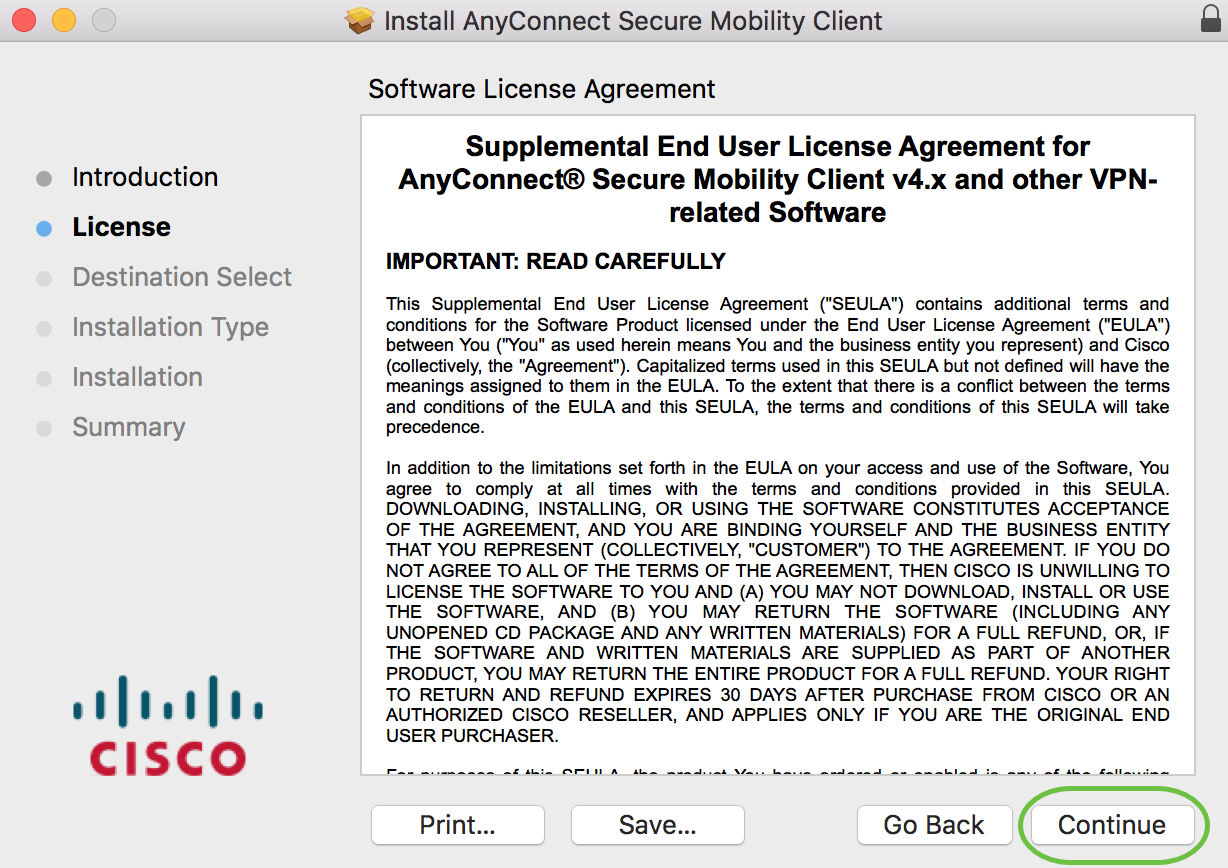
Step 5
Go over the Supplemental End User License Agreement and then click Continue.
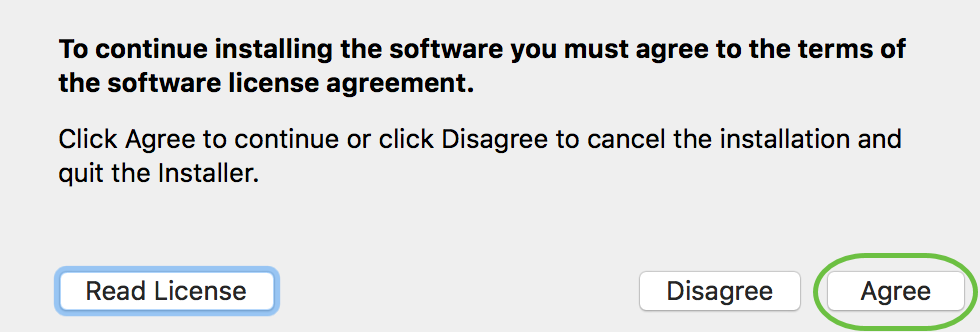
Step 6
Click Agree.
Step 7
Choose the components to be installed by checking or unchecking the corresponding check boxes. Check only the VPN and Diagnostics and Reporting Tool check boxes and click Continue.

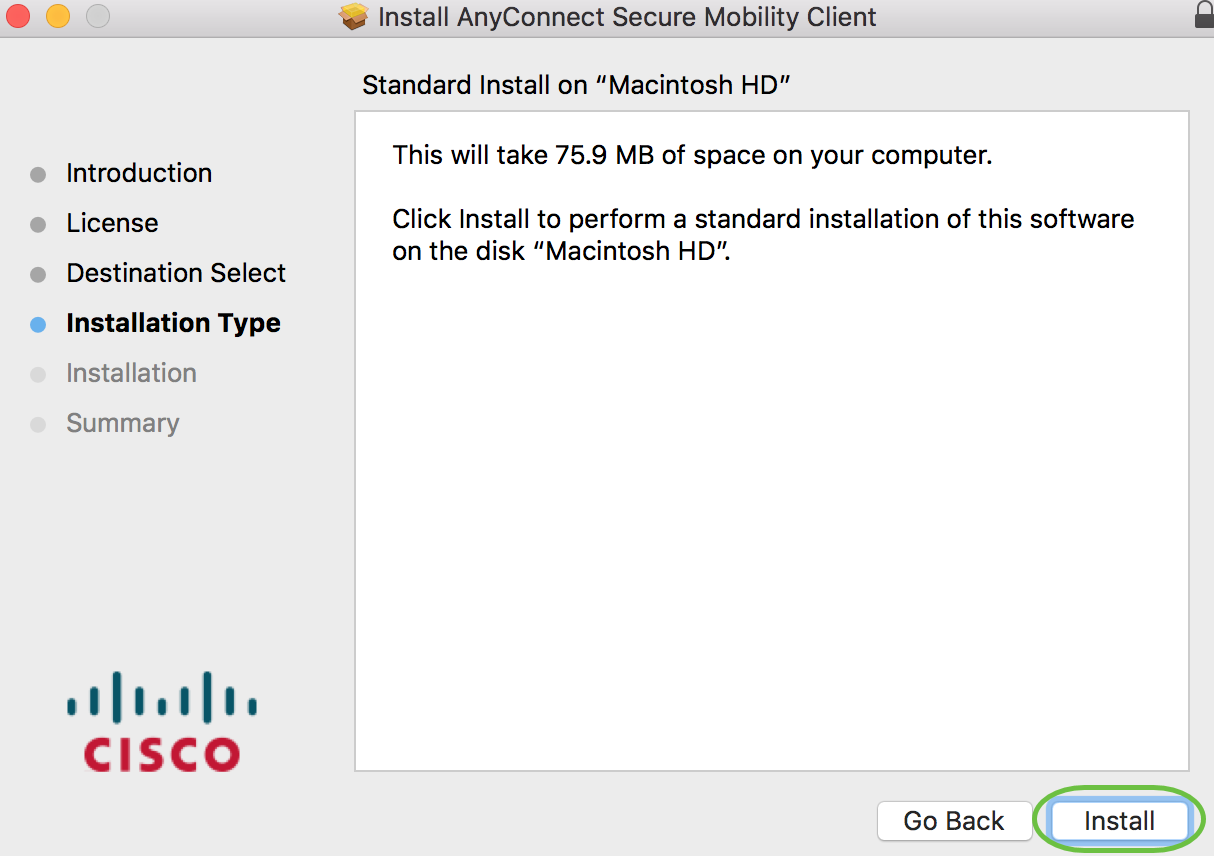
Step 8
Click Install.
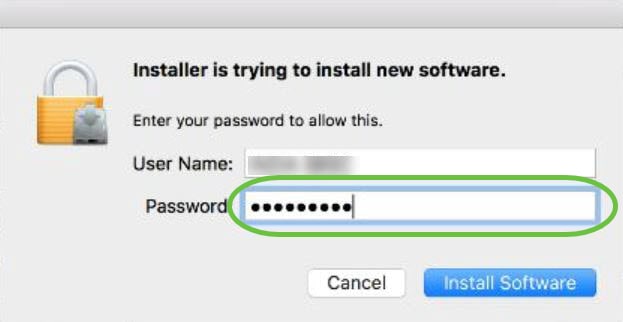
Step 9
(Optional) Enter your password in the Password field.
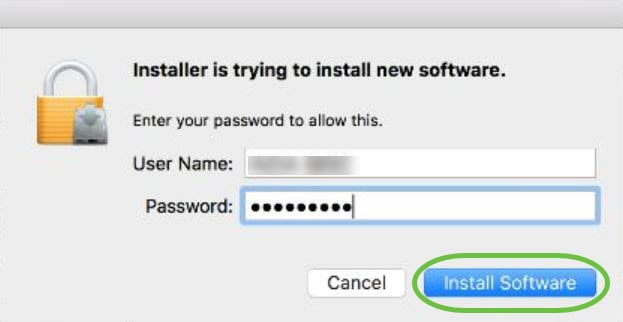
Step 10
Click Install Software.
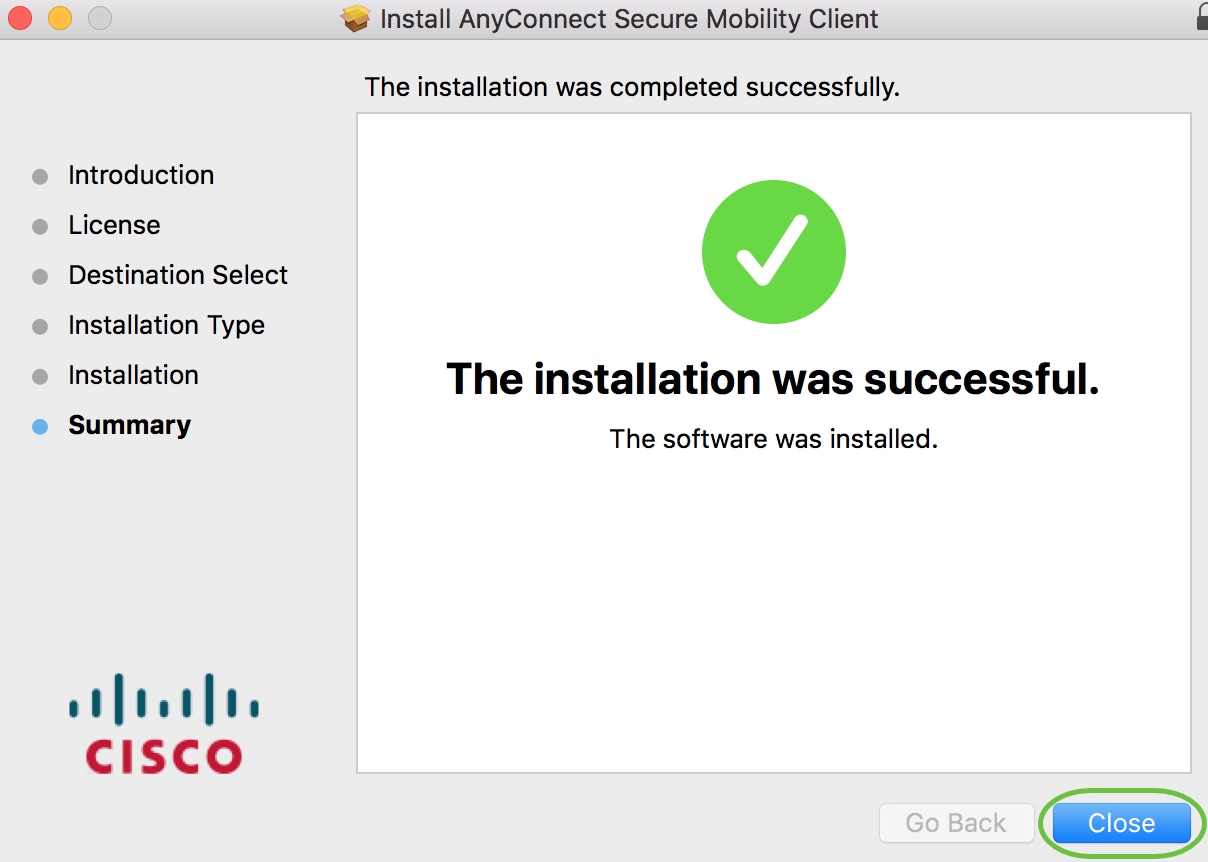
Step 11
Click Close.
Start VPN connection
1. Connect to the internet.
2. Open Cisco AnyConnect Secure Mobility Client.
3. Enter tusken.1ci.com and click Connect.

4. If you have an Internet connection and a properly installed certificate a window will appear for you to enter your account password. Your username will be listed above the password line. Enter your account password and click OK.

5. You can check if the connection was successful from the tray icon. The connection can be terminated by clicking the Disconnect button.
